Explore styles
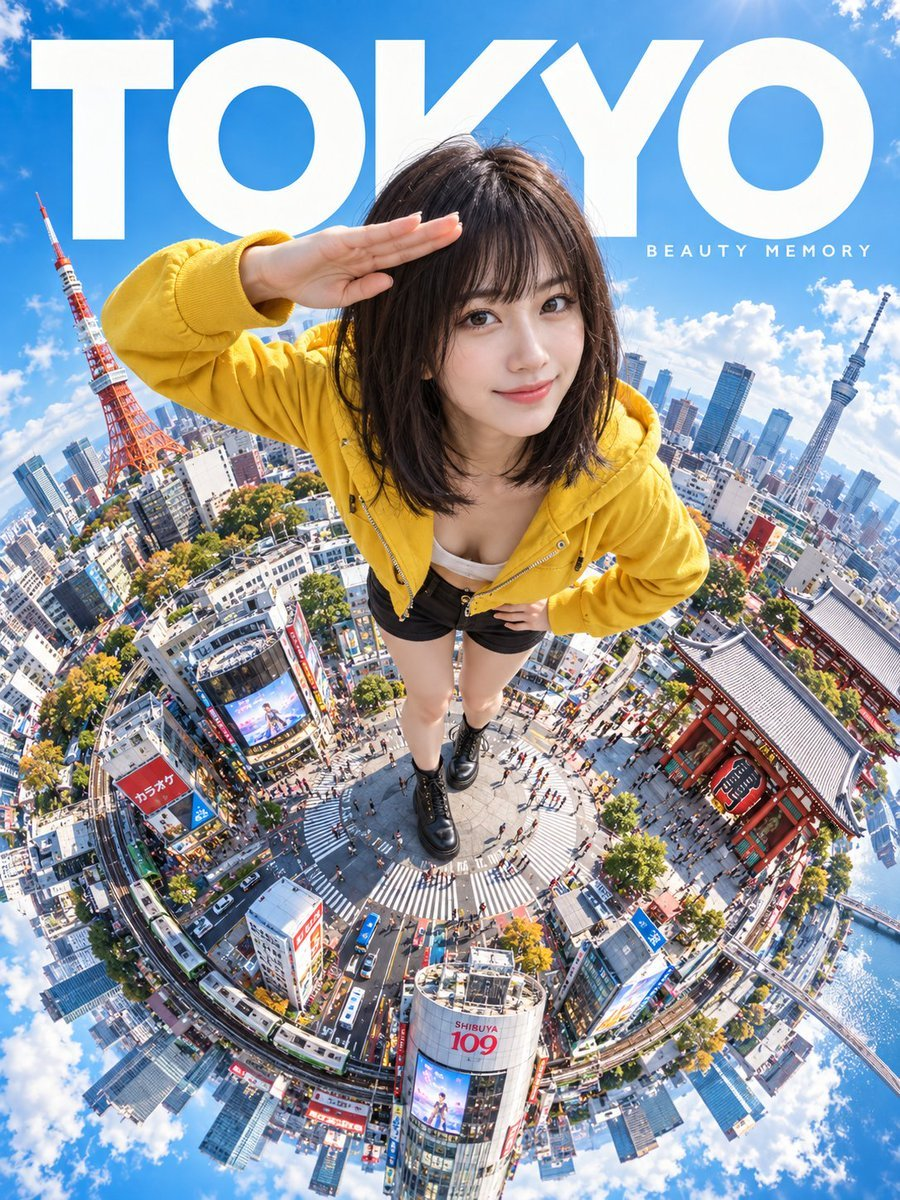
San Francisco Fisheye Travel Poster — image 1

San Francisco Fisheye Travel Poster

Turn a portrait reference into an overhead travel poster with a miniature San Francisco cityscape, fisheye perspective and space for a title.

DesignUniversal

Model: Universal

Inputs: One authorized portrait reference. Replace the city and title; the source requests a vertical 3:4 composition.

Atlas library example
Prompt

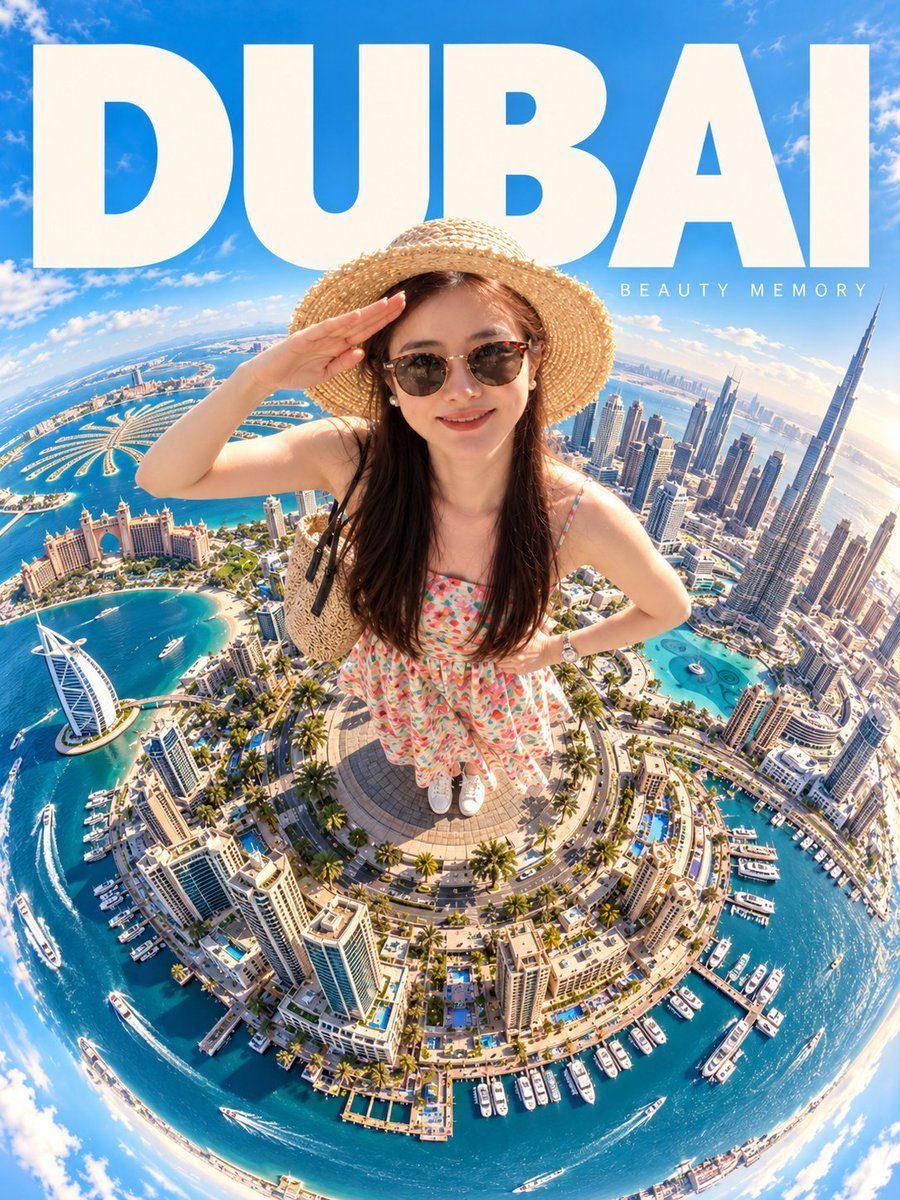
Create a stylized real-person photo adaptation based on my uploaded reference image. Show a full-body person in an overhead panoramic shot, viewed from above. The person is looking up directly at the camera with a bright smile, with one hand raised in a salute and the other hand on their hip. Around the person’s feet, include iconic San Francisco landmarks and city architecture, arranged to create the feeling of standing within a miniature cityscape. Use an ultra-wide panoramic camera perspective, with a spherical fisheye / wide-angle distortion for a dramatic and visually striking composition. Aspect Ratio - Vertical poster - 3:4 Layout - Top 40%: a large clean area of empty sky / solid-color background - Keep this upper section visually spacious and suitable for typography Text Design Add a large main title in the upper area, with the person partially overlapping or blocking the title text, creating a layered poster effect. Example title text: - SAN FRANCISCO - BEAUTY MEMORY - or similar clean travel-poster wording Typography Style - Large clean sans-serif font - Modern Japanese graphic design aesthetic - Minimal, stylish, editorial, poster-like layout Overall Style - Trendy travel poster - Clean and modern composition - Strong graphic design feel - Real-person photo adaptation with a fashionable, playful, premium look

San Francisco Fisheye Travel Poster — image 2

San Francisco Fisheye Travel Poster — image 2

HOW TO USE

Use the example as a visual brief

Copying the text is the starting point. The model, reference inputs and follow-up changes also affect the output.

Read the image prompting guide
  1. 01

    Choose a result with the composition and medium you need.

  2. 02

    Copy the image prompt and replace subject variables. Keep the medium, lighting and composition separate.

  3. 03

    Use an image model that supports your input type. If editing a photo, provide a clear reference image.

  4. 04

    Compare the output to your goal and change one instruction at a time.

Result not as expected? Start here
  • A model label describes the intended tool; it is not proof of an independent reproduction test.
  • Check faces, text, hands and important objects before using the output.

More in this creative family